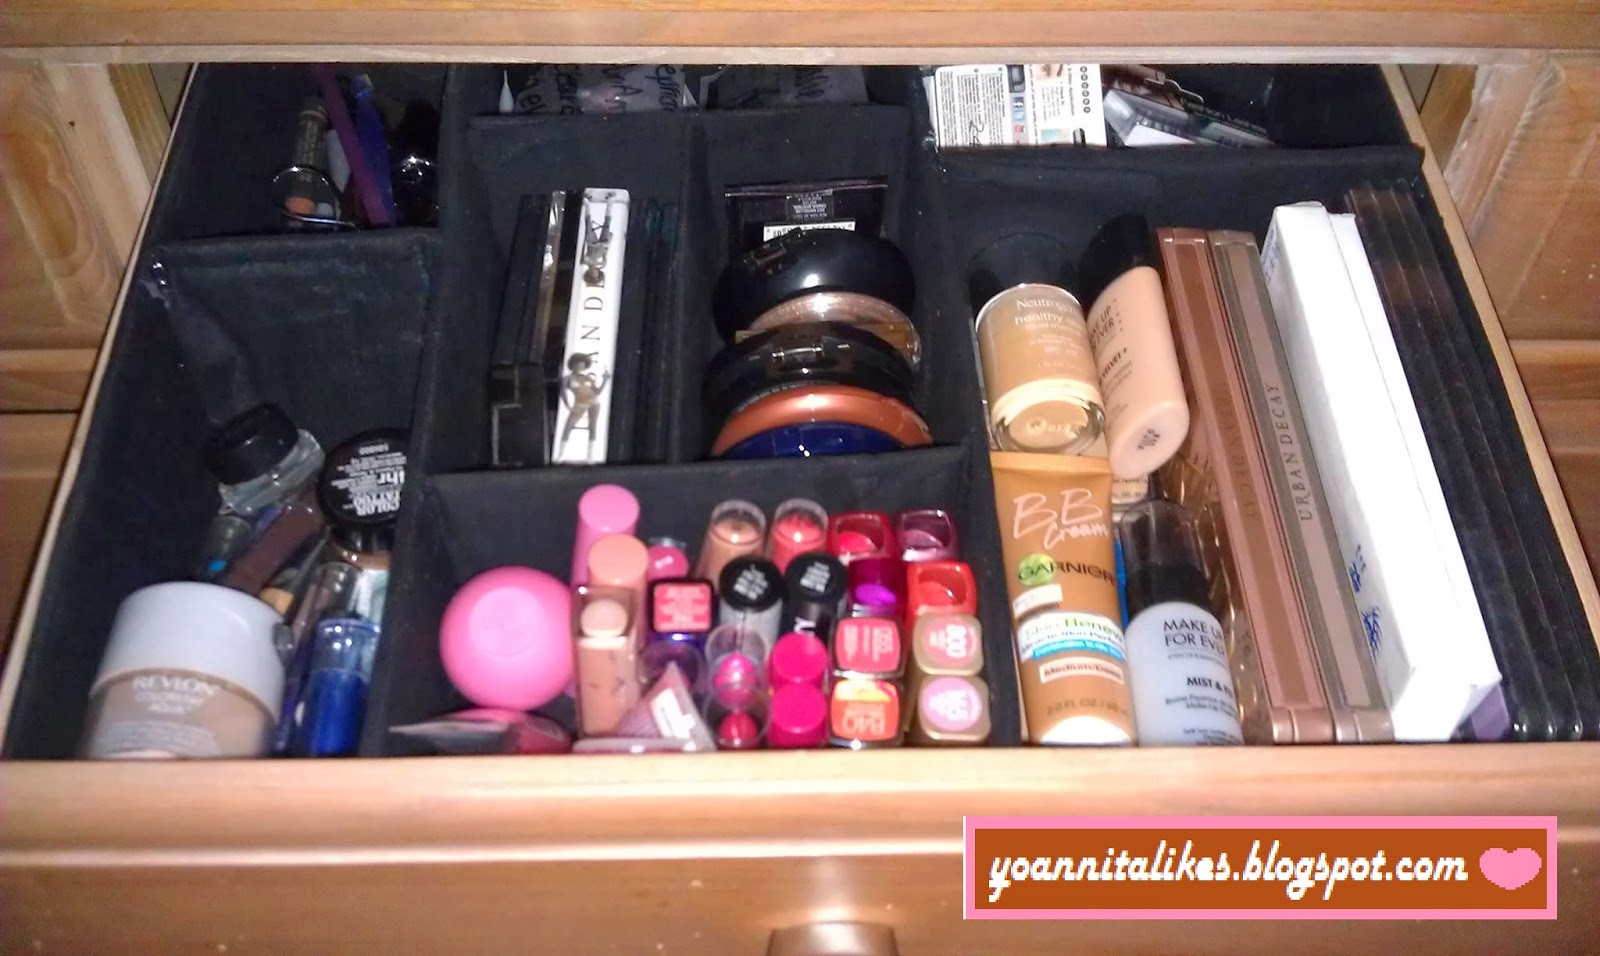
Im coming tonight to share one of my diys that i just recently made. One of my fellow Indonesian Beauty Blogger, Rosdiana suggested me to make a blogpost about this diy! Thanks for the idea ;) . Anyway, It's the custom drawers divider for makeup storage (at least to me), but you absolutely can use it for other things.
And of course i wanna mention this diy absolutely wasnt invented by me but this inspired by a diy/beauty/travel youtuber called "pinksofoxy". Her name is Christine and i absolutely love her videos. You definitely should check her out if you're a youtube lover like i am.
For this diy project you are gonna need :
i forgot to take picture before i started, so thats why the fabric is very small because it's leftover piece after the project made.
2. Glue gun and the glue stick
3. Random boxes that you dont use it anymore
4. Fabric glue (optional)
5. Utility knife
So first you want to measure the size of your drawer. You gonna find out how wide and how length it is. The measurements of the picture is what my drawer needs.

 After you find out, lay flat your box , draw many rectangle pieces. Like the illustration picture above, i drew 12 rectangle pieces vary in sizes. All the measurements in the picture is what my drawers size. Of course your drawer size might be different with mine so go ahead use the right measurement for your own drawer :)
 After all box pieces covered up with fabric, then you start making the tray with 4 sides (front, behind, left, and right) and then the remaining pieces that will be placed as the divider. Again, im using the hot glue gun to connect every pieces. Let them dry for 30 minutes then place it right away in your drawer. It's time to put all the makeup stuff in. This is the most fun part amongst all.
Tadaaa!!
there is no way i could rotate the picture. I did rotate it before i upload but the blogger keep the actual picture :/
I fell in love the way it look in my drawer. No more makeup items laying around randomly anymore on my dressing table. I hope my explanations and illustration pictures is clear enough to understand by you all. Well let me know what you guys think about this diy, and if you recreate this, please let me know the link of your pictures because i'd love to see it.
Thanks for checking out this post, dont forget to comment! :)


.JPG)

No comments:
Post a Comment
Thank You for comments! I appreciate it :)